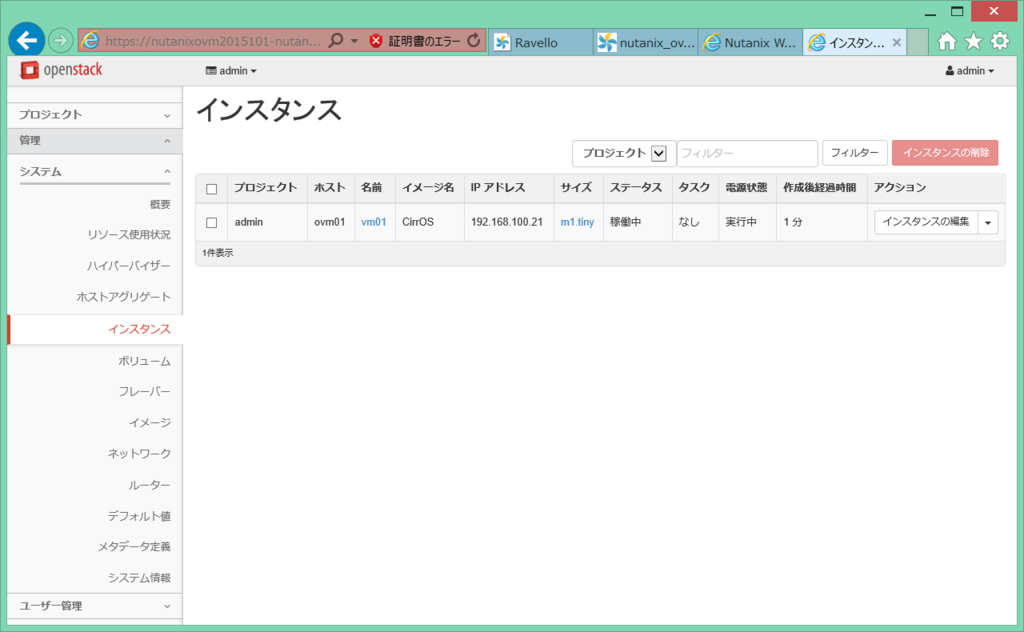
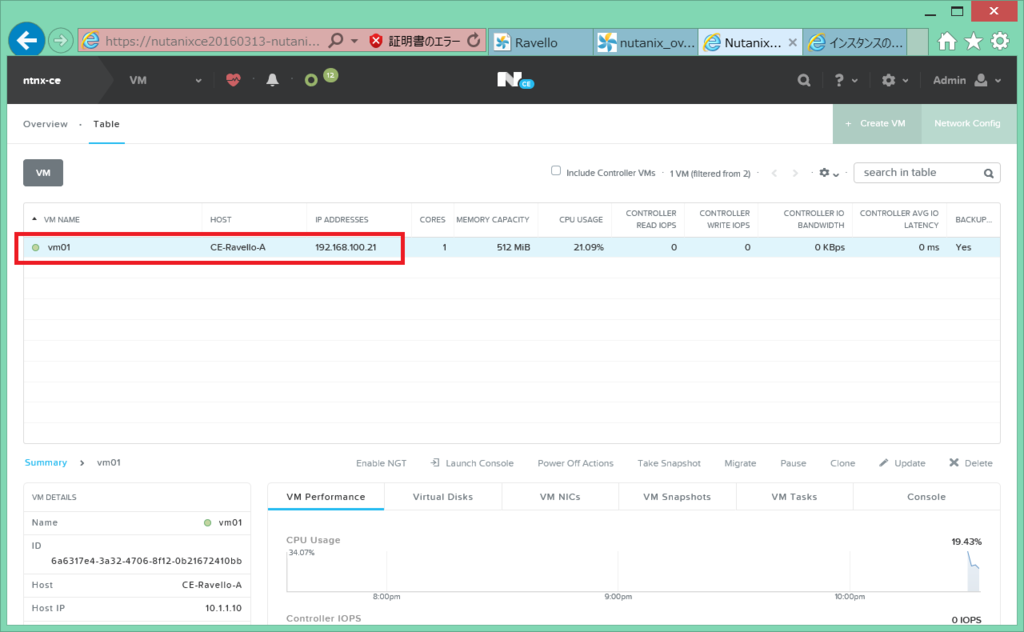
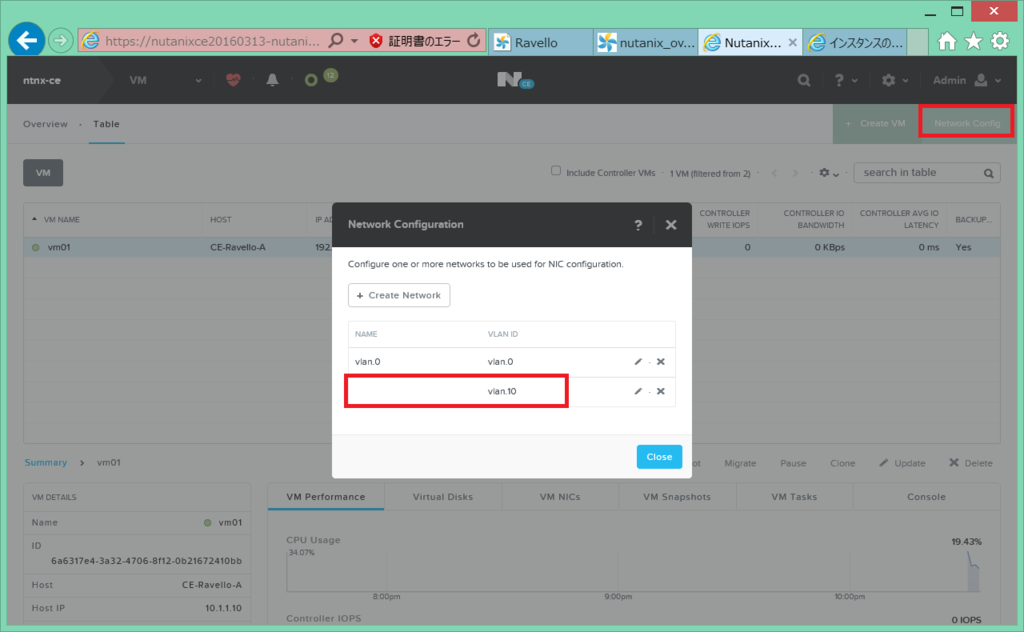
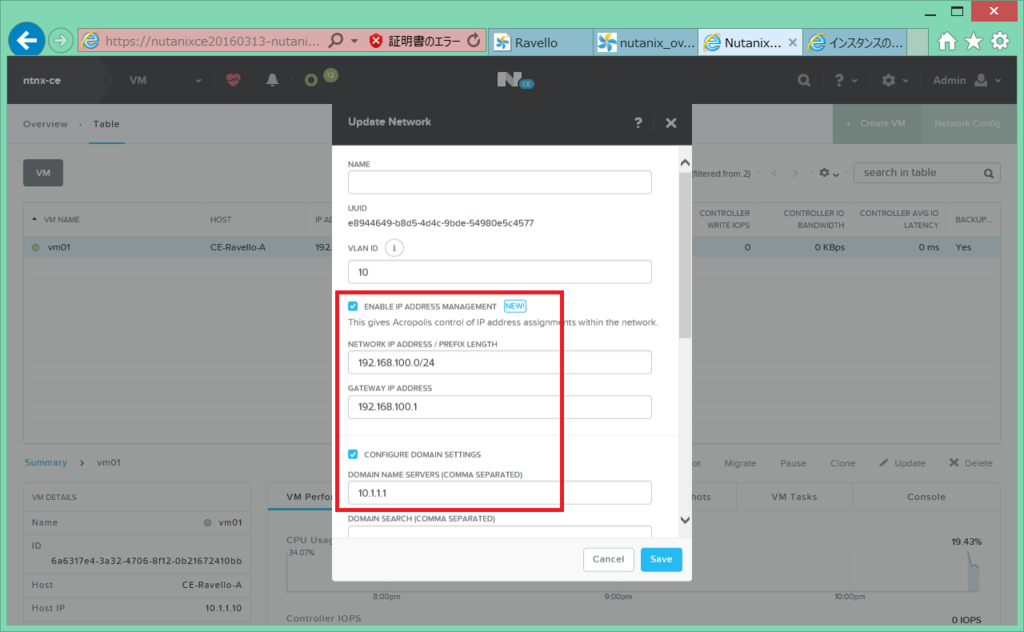
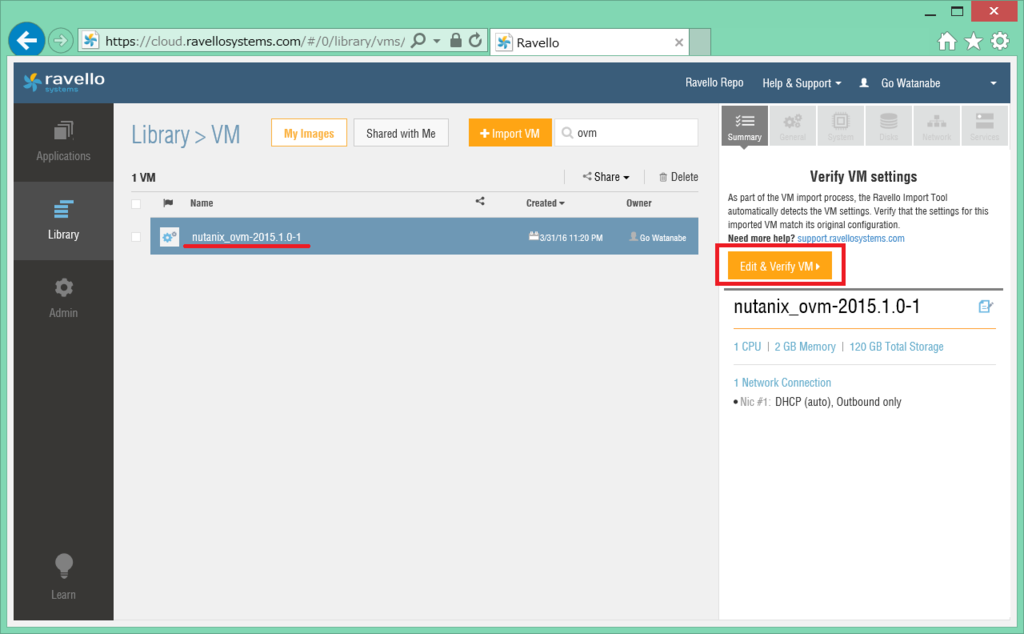
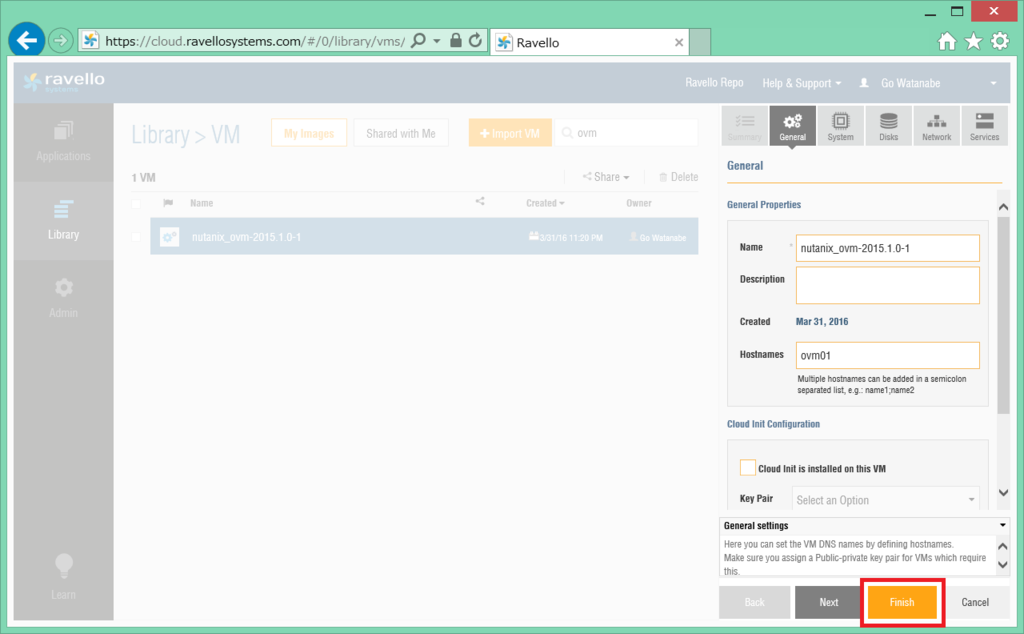
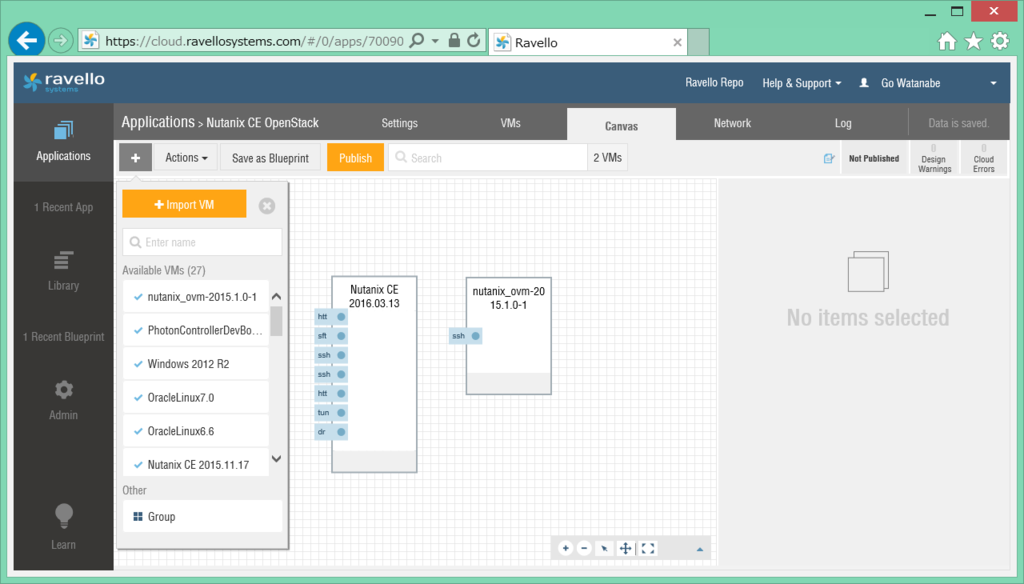
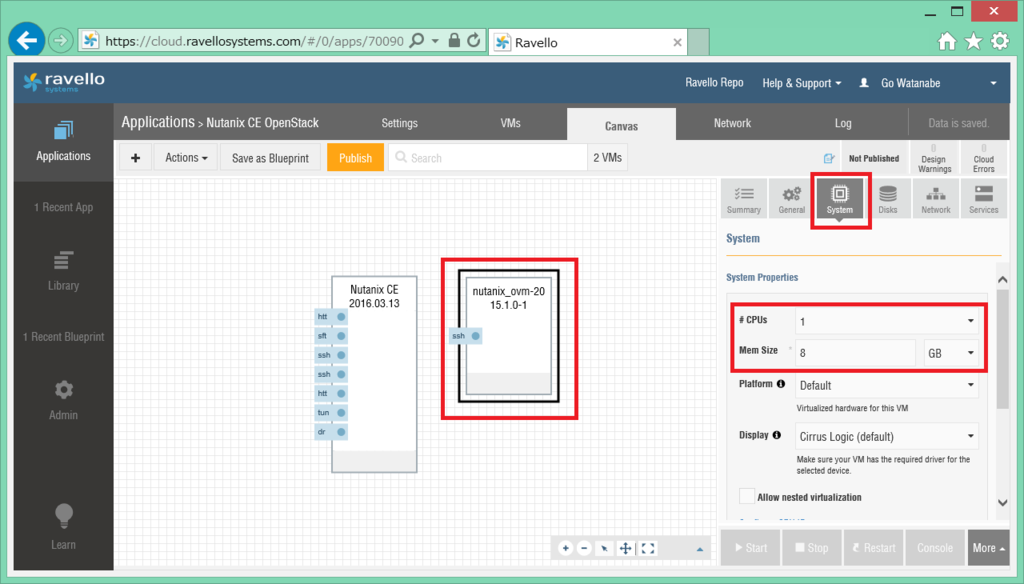
Nutanix の Acropolis OpenStack Services VM (OVM) を Ravello で試してみました。
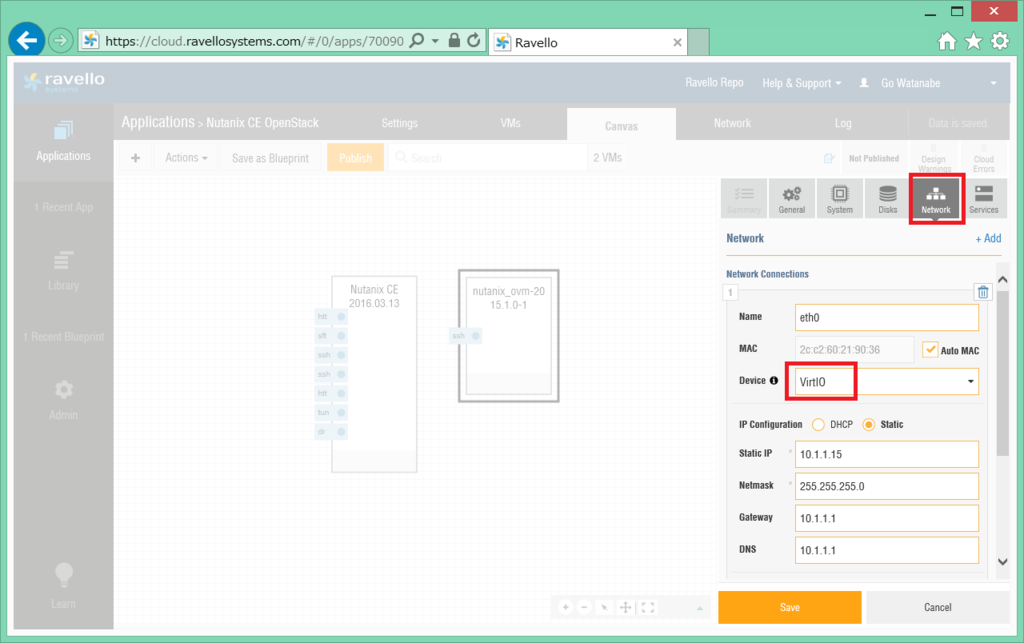
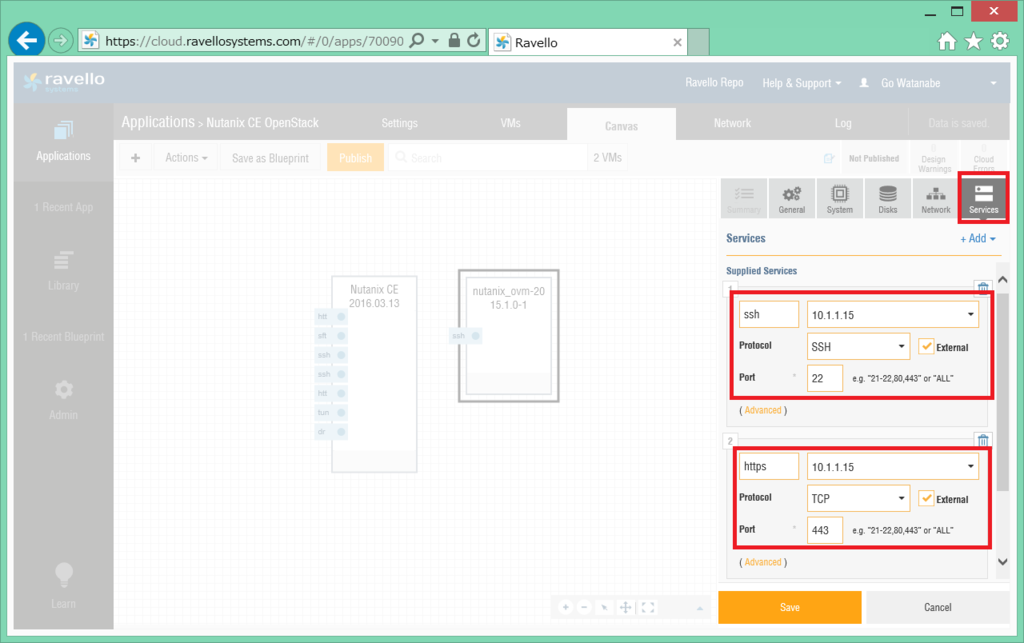
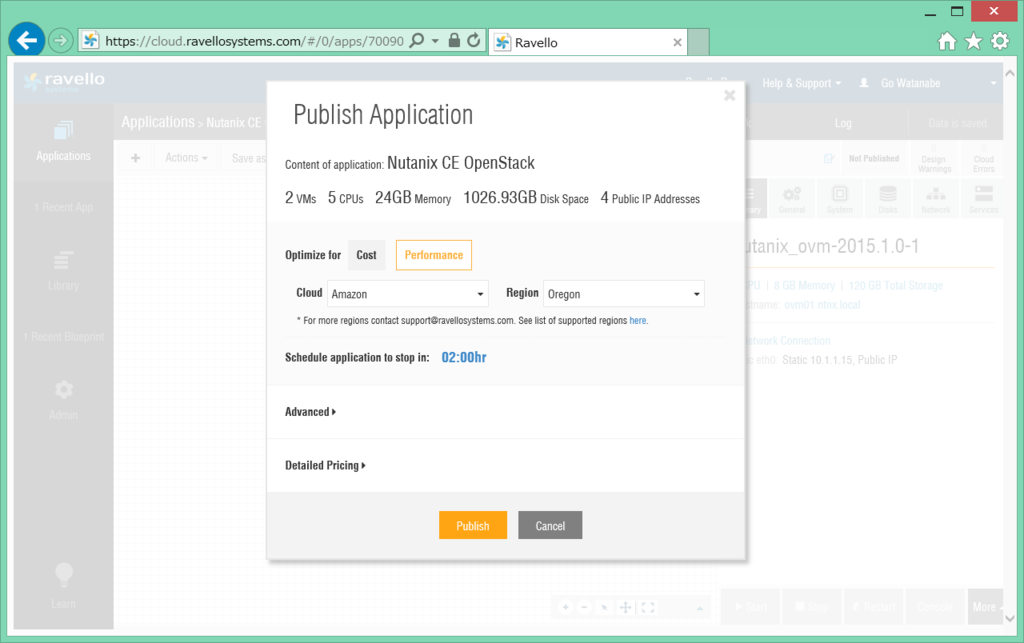
Ravello での Nutanix CE にわりあてられるスペック上の事情により、OVM は Nutanix とは独立したサーバとしてデプロイしています。
今回は、OpenStack Controller が OVM に含まれる All-in-one 構成にします。
ovmctl 実行前の OVM の状態
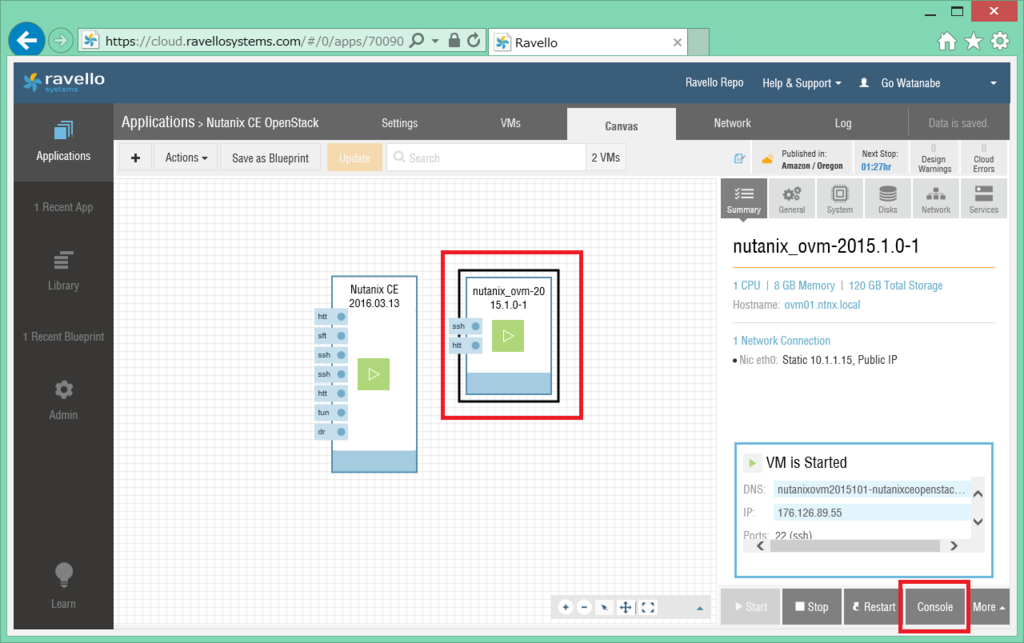
Nutanix CE と、OVM の VM を別に用意しています。
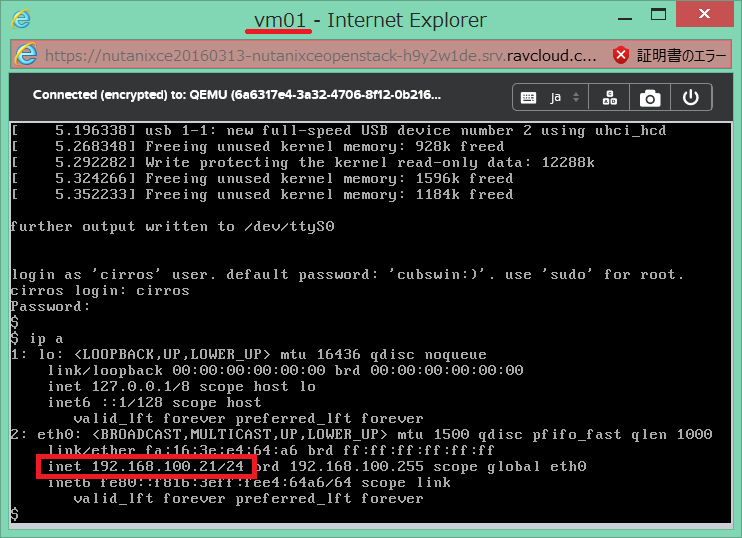
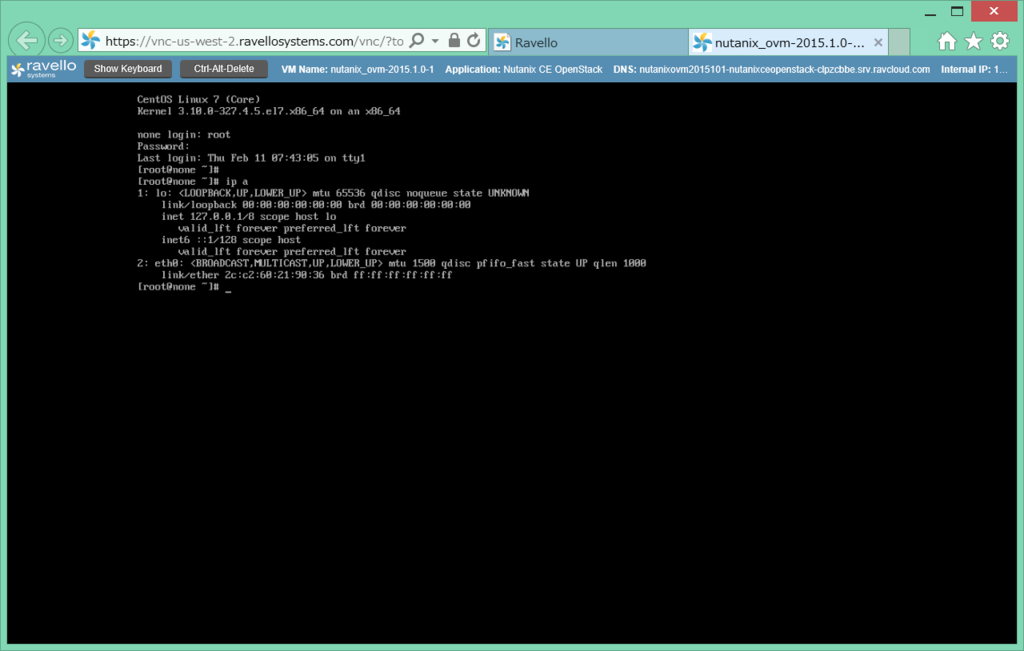
OVM デプロイ直後はネットワーク設定がされていないので、Console から接続します。

Nutanix には、Prism からアクセスします。
Nutanix CE は、1ノードクラスタで、クラスタ名と、クラスタの VIP は設定済みです。
- CLUSTER NAME: ntnx-ce
- CLUSTER VIRTUAL IP ADDRESS: 10.1.1.12

OVM には、Ravello のコンソールからアクセスします。
ディスクイメージから VM を作成して、ただ起動したままの状態です。
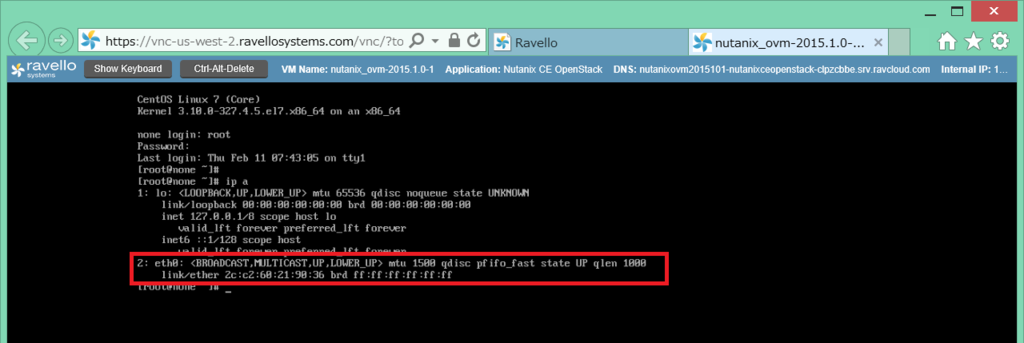
Nutanix 上で起動した場合に合わせて virtio の NIC を選択していて、デフォルトで eth0 として認識しています。
OVM のセットアップ
まず、ovmctl --add ovm で OVM 自身のセットアップをします。
root (初期パスワードは admin)でログインします。
この時点では、まだ何も OVM の設定がありません。
[root@none ~]# ovmctl --show

Role:
-----
None

OVM configuration:
------------------
None

Openstack Controllers configuration:
------------------------------------
None

Nutanix Clusters configuration:
-------------------------------
None

Version:
--------
Version     : 2015.1.0
Release     : 1
Summary     : Acropolis drivers for Openstack Kilo.
下記のようなコマンドラインを実行します。
- 今回は事情により、/22 のアドレスにしています。
- このコマンドを実行するときに、NIC が eth0 ではなく ens3 になっていたりするとエラーになるようです。
[root@none ~]# ovmctl --add ovm --name ovm01 --ip 10.1.1.15 --netmask 255.255.252.0 --gateway 10.1.1.1 --nameserver 10.1.1.1 --domain ntnx.local

これで、OVM の設定だけでなくネットワーク設定もされます。
[root@ovm01 ~]# ip a
1: lo: <LOOPBACK,UP,LOWER_UP> mtu 65536 qdisc noqueue state UNKNOWN
    link/loopback 00:00:00:00:00:00 brd 00:00:00:00:00:00
    inet 127.0.0.1/8 scope host lo
       valid_lft forever preferred_lft forever
    inet6 ::1/128 scope host
       valid_lft forever preferred_lft forever
2: eth0: <BROADCAST,MULTICAST,UP,LOWER_UP> mtu 1500 qdisc pfifo_fast state UP qlen 1000
    link/ether 2c:c2:60:4a:22:b6 brd ff:ff:ff:ff:ff:ff
    inet 10.1.1.15/22 brd 10.1.3.255 scope global eth0
       valid_lft forever preferred_lft forever
    inet6 fe80::2ec2:60ff:fe4a:22b6/64 scope link
       valid_lft forever preferred_lft forever
ちょっと不思議な感じですが、ifcfg ファイルにも設定が記載されました。
[root@ovm01 ~]# cat /etc/sysconfig/network-scripts/ifcfg-eth0

                    # Generated by OVM
                    ONBOOT="yes"
                    NM_CONTROLLED="no"
                    BOOTPROTO=none
                    TYPE="Ethernet"
                    DEVICE="eth0"
                    IPADDR="10.1.1.15"
                    NETMASK="255.255.252.0"
                    GATEWAY="10.1.1.1"
                    DNS1="10.1.1.1"
                    DOMAIN="ntnx,local"
今回の環境だと、OVM を再起動すると接続ができなくなってしまうので、とりあえず NetworkManager は停止しました。
[root@ovm01 ~]# systemctl stop NetworkManager
[root@ovm01 ~]# systemctl disable NetworkManager
Removed symlink /etc/systemd/system/dbus-org.freedesktop.NetworkManager.service.
Removed symlink /etc/systemd/system/dbus-org.freedesktop.nm-dispatcher.service.
Removed symlink /etc/systemd/system/multi-user.target.wants/NetworkManager.service.
OVM configuration が追加されました。
[root@ovm01 ~]# ovmctl --show

Role:
-----
None

OVM configuration:
------------------
1     OVM name                     : ovm01
      IP                           : 10.1.1.15
      Netmask                      : 255.255.252.0
      Gateway                      : 10.1.1.1
      Nameserver                   : 10.1.1.1
      Domain                       : ntnx.local

Openstack Controllers configuration:
------------------------------------
None

Nutanix Clusters configuration:
-------------------------------
None

Version:
--------
Version     : 2015.1.0
Release     : 1
Summary     : Acropolis drivers for Openstack Kilo.
OVM への OpenStack コントローラ追加
ここからは SSH で接続しています。プロンプトを見ると、ovmctl --add ovm で指定したホスト名に変更されていることがわかります。
「ovmctl --add controller」でコントローラを追加します。All-in-one 構成なので、コントローラの「--ip」には、OVM 自身の IP アドレスを指定しています。
[root@ovm01 ~]# ovmctl --add controller --name ovm01 --ip 10.1.1.15

1/4: Stop services:
Redirecting to /bin/systemctl stop  openstack-nova-api.service
Redirecting to /bin/systemctl stop  openstack-nova-consoleauth.service
Redirecting to /bin/systemctl stop  openstack-nova-scheduler.service
Redirecting to /bin/systemctl stop  openstack-nova-conductor.service
Redirecting to /bin/systemctl stop  openstack-nova-compute.service
Redirecting to /bin/systemctl stop  openstack-nova-cert.service
Redirecting to /bin/systemctl stop  openstack-nova-novncproxy.service
Redirecting to /bin/systemctl stop  openstack-cinder-api.service
Redirecting to /bin/systemctl stop  openstack-cinder-scheduler.service
Redirecting to /bin/systemctl stop  openstack-cinder-volume.service
Redirecting to /bin/systemctl stop  openstack-cinder-backup.service
Redirecting to /bin/systemctl stop  openstack-glance-registry.service
Redirecting to /bin/systemctl stop  openstack-glance-api.service
Redirecting to /bin/systemctl stop  neutron-dhcp-agent.service
Redirecting to /bin/systemctl stop  neutron-l3-agent.service
Redirecting to /bin/systemctl stop  neutron-metadata-agent.service
Redirecting to /bin/systemctl stop  neutron-openvswitch-agent.service
Redirecting to /bin/systemctl stop  neutron-server.service
Redirecting to /bin/systemctl start  iptables.service
Note: Forwarding request to 'systemctl enable iptables.service'.
Redirecting to /bin/systemctl restart  httpd.service
Successful

2/4: Disconnect controller:
Apply allinone disconnect manifest
Error: NetworkManager is not running.
Notice: Compiled catalog for ovm01.ntnx.local in environment production in 0.65 seconds
Notice: Finished catalog run in 5.96 seconds
Apply services disconnect manifest
Error: NetworkManager is not running.
Notice: Compiled catalog for ovm01.ntnx.local in environment production in 0.41 seconds
Notice: Finished catalog run in 12.97 seconds
Apply glance plugin disconnect manifest
Error: NetworkManager is not running.
Notice: Compiled catalog for ovm01.ntnx.local in environment production in 0.11 seconds
Notice: Finished catalog run in 5.90 seconds
Successful

3/4: Connect controller:
Apply allinone connect manifest
Error: NetworkManager is not running.
Notice: Compiled catalog for ovm01.ntnx.local in environment production in 0.25 seconds
Notice: /Stage[main]/Main/Augeas[ovm_allinone_glance_controller_api_config]/returns: executed successfully
Notice: /Stage[main]/Main/Augeas[ovm_allinone_glance_controller_registry_config]/returns: executed successfully
Notice: /Stage[main]/Main/Augeas[ovm_allinone_nova_controller_config]/returns: executed successfully
Notice: /Stage[main]/Main/File_line[add_allinone_httpd_config]/ensure: created
Notice: /Stage[main]/Main/Augeas[ovm_allinone_cinder_controller_config]/returns: executed successfully
Notice: Finished catalog run in 4.11 seconds
Apply services connect manifest
Error: NetworkManager is not running.
Notice: Compiled catalog for ovm01.ntnx.local in environment production in 0.45 seconds
Notice: /Stage[main]/Main/Augeas[ovm_nova_cluster_config]/returns: executed successfully
Notice: /Stage[main]/Main/Augeas[ovm_nova_controller_config]/returns: executed successfully
Notice: /Stage[main]/Main/Augeas[ovm_cinder_controller_config]/returns: executed successfully
Notice: /Stage[main]/Main/Augeas[ovm_neutron_controller_config]/returns: executed successfully
Notice: /Stage[main]/Main/Augeas[ovm_neutron_cluster_entry_points_config]/returns: executed successfully
Notice: /Stage[main]/Main/Augeas[ovm_neutron_controller_ml2_config]/returns: executed successfully
Notice: /Stage[main]/Main/File_line[add-acropolis-driver]/ensure: created
Notice: /Stage[main]/Main/Augeas[ovm_neutron_controller_metadata_config]/returns: executed successfully
Notice: /Stage[main]/Main/Augeas[ovm_neutron_controller_ovs_neutron_plugin_config]/returns: executed successfully
Notice: /Stage[main]/Main/Augeas[ovm_cinder_cluster_config]/returns: executed successfully
Notice: Finished catalog run in 10.88 seconds
Apply glance plugin connect manifest
Error: NetworkManager is not running.
Notice: Compiled catalog for ovm01.ntnx.local in environment production in 0.12 seconds
Notice: /Stage[main]/Main/Augeas[ovm_nova_service_config]/returns: executed successfully
Notice: /Stage[main]/Main/Augeas[ovm_glance_controller_api_config]/returns: executed successfully
Notice: /Stage[main]/Main/Augeas[ovm_glance_cluster_api_config]/returns: executed successfully
Notice: /Stage[main]/Main/Augeas[ovm_glance_controller_registry_config]/returns: executed successfully
Notice: /Stage[main]/Main/Augeas[ovm_glance_cluster_entry_points_config]/returns: executed successfully
Notice: /Stage[main]/Main/Augeas[ovm_cinder_service_config]/returns: executed successfully
Notice: Finished catalog run in 6.38 seconds
Successful

4/4: Restart Services:
Redirecting to /bin/systemctl restart  openstack-nova-api.service
Redirecting to /bin/systemctl restart  openstack-nova-consoleauth.service
Redirecting to /bin/systemctl restart  openstack-nova-scheduler.service
Redirecting to /bin/systemctl restart  openstack-nova-conductor.service
Redirecting to /bin/systemctl restart  openstack-nova-compute.service
Redirecting to /bin/systemctl restart  openstack-nova-cert.service
Redirecting to /bin/systemctl restart  openstack-nova-novncproxy.service
Redirecting to /bin/systemctl restart  openstack-cinder-api.service
Redirecting to /bin/systemctl restart  openstack-cinder-scheduler.service
Redirecting to /bin/systemctl restart  openstack-cinder-volume.service
Redirecting to /bin/systemctl restart  openstack-cinder-backup.service
Redirecting to /bin/systemctl restart  openstack-glance-registry.service
Redirecting to /bin/systemctl restart  openstack-glance-api.service
Redirecting to /bin/systemctl restart  neutron-server.service
Redirecting to /bin/systemctl restart  neutron-dhcp-agent.service
Redirecting to /bin/systemctl restart  neutron-l3-agent.service
Redirecting to /bin/systemctl restart  neutron-metadata-agent.service
Redirecting to /bin/systemctl restart  neutron-openvswitch-agent.service
Note: Forwarding request to 'systemctl enable prism-vnc-proxy.service'.
Redirecting to /bin/systemctl stop  iptables.service
Note: Forwarding request to 'systemctl disable iptables.service'.
Removed symlink /etc/systemd/system/basic.target.wants/iptables.service.
Redirecting to /bin/systemctl restart  httpd.service
Successful
Role が Allinone になり、Openstack Controllers configuration にコントローラが追加されました。
[root@ovm01 ~]# ovmctl --show

Role:
-----
Allinone - Openstack controller, Acropolis drivers

OVM configuration:
------------------
1     OVM name                     : ovm01
      IP                           : 10.1.1.15
      Netmask                      : 255.255.252.0
      Gateway                      : 10.1.1.1
      Nameserver                   : 10.1.1.1
      Domain                       : ntnx.local

Openstack Controllers configuration:
------------------------------------
1     Controller name              : ovm01
      IP                           : 10.1.1.15
      Auth
        Auth strategy              : keystone
        Auth region                : RegionOne
        Auth tenant                : services
        Auth Nova password         : ********
        Auth Glance password       : ********
        Auth Cinder password       : ********
        Auth Neutron password      : ********
      DB
        DB Nova                    : mysql
        DB Cinder                  : mysql
        DB Glance                  : mysql
        DB Neutron                 : mysql
        DB Nova password           : ********
        DB Glance password         : ********
        DB Cinder password         : ********
        DB Neutron password        : ********
      RPC
        RPC backend                : rabbit
        RPC username               : guest
        RPC password               : ********
      Image cache                  : disable

Nutanix Clusters configuration:
-------------------------------
None

Version:
--------
Version     : 2015.1.0
Release     : 1
Summary     : Acropolis drivers for Openstack Kilo.
Nutanix クラスタ側の準備
Nutanix CE のクラスタで、default という名前のストレージコンテナを作成しておきます。ovmctl でコンテナ名を指定することも可能ですが、自動的にデフォルトで作成されるコンテナ名が長いので、今回は「default」コンテナを作成しました。
Prism で「Storage」→「₊ Container」をクリックします。

名前を「default」にして、Save します。

default というコンテナが作成されました。

OVM への Nutanix クラスタ追加
念のため、Nutanix クラスタの VIP に疎通が取れることを確認しておきます。
[root@ovm01 ~]# ping -c 1 10.1.1.12
PING 10.1.1.12 (10.1.1.12) 56(84) bytes of data.
64 bytes from 10.1.1.12: icmp_seq=1 ttl=64 time=4.45 ms

--- 10.1.1.12 ping statistics ---
1 packets transmitted, 1 received, 0% packet loss, time 0ms
rtt min/avg/max/mdev = 4.451/4.451/4.451/0.000 ms
「ovmctl --add cluster」でクラスタを追加します。
[root@ovm01 ~]# ovmctl --add cluster --name ntnx-ce --ip 10.1.1.12 --username admin --password <パスワード>

1/3: Start VNC proxy:
Started vnc proxy service
Successful

2/3: Enable services:
Service compute enabled
Service volume enabled
Service network enabled
Successful

3/3: Restart services:
Redirecting to /bin/systemctl restart  openstack-nova-api.service
Redirecting to /bin/systemctl restart  openstack-nova-consoleauth.service
Redirecting to /bin/systemctl restart  openstack-nova-scheduler.service
Redirecting to /bin/systemctl restart  openstack-nova-conductor.service
Redirecting to /bin/systemctl restart  openstack-nova-compute.service
Redirecting to /bin/systemctl restart  openstack-nova-cert.service
Redirecting to /bin/systemctl restart  openstack-nova-novncproxy.service
Redirecting to /bin/systemctl restart  openstack-cinder-api.service
Redirecting to /bin/systemctl restart  openstack-cinder-scheduler.service
Redirecting to /bin/systemctl restart  openstack-cinder-volume.service
Redirecting to /bin/systemctl restart  openstack-cinder-backup.service
Redirecting to /bin/systemctl restart  openstack-glance-registry.service
Redirecting to /bin/systemctl restart  openstack-glance-api.service
Redirecting to /bin/systemctl restart  neutron-server.service
Redirecting to /bin/systemctl restart  neutron-dhcp-agent.service
Redirecting to /bin/systemctl restart  neutron-l3-agent.service
Redirecting to /bin/systemctl restart  neutron-metadata-agent.service
Redirecting to /bin/systemctl restart  neutron-openvswitch-agent.service
Note: Forwarding request to 'systemctl enable prism-vnc-proxy.service'.
Redirecting to /bin/systemctl stop  iptables.service
Note: Forwarding request to 'systemctl disable iptables.service'.
Redirecting to /bin/systemctl restart  httpd.service
Successful
Nutanix Clusters configuration にクラスタが追加されました。Container name は default になっています。これで OpenStack から Nutanix を操作できるようになりました。
[root@ovm01 ~]# ovmctl --show

Role:
-----
Allinone - Openstack controller, Acropolis drivers

OVM configuration:
------------------
1     OVM name                     : ovm01
      IP                           : 10.1.1.15
      Netmask                      : 255.255.252.0
      Gateway                      : 10.1.1.1
      Nameserver                   : 10.1.1.1
      Domain                       : ntnx.local

Openstack Controllers configuration:
------------------------------------
1     Controller name              : ovm01
      IP                           : 10.1.1.15
      Auth
        Auth strategy              : keystone
        Auth region                : RegionOne
        Auth tenant                : services
        Auth Nova password         : ********
        Auth Glance password       : ********
        Auth Cinder password       : ********
        Auth Neutron password      : ********
      DB
        DB Nova                    : mysql
        DB Cinder                  : mysql
        DB Glance                  : mysql
        DB Neutron                 : mysql
        DB Nova password           : ********
        DB Glance password         : ********
        DB Cinder password         : ********
        DB Neutron password        : ********
      RPC
        RPC backend                : rabbit
        RPC username               : guest
        RPC password               : ********
      Image cache                  : disable

Nutanix Clusters configuration:
-------------------------------
1     Cluster name                 : ntnx-ce
      IP                           : 10.1.1.12
      Username                     : admin
      Password                     : ********
      Vnc                          : 38362
      Vcpus per core               : 4
      Container name               : default
      Services enabled             : compute, volume, network

Version:
--------
Version     : 2015.1.0
Release     : 1
Summary     : Acropolis drivers for Openstack Kilo.
できたものの様子
nova コマンドで様子を見てみます。
OVM の /root に keystonerc_admin というファイルがあります。
[root@ovm01 ~]# ls -l
total 392
-rw-------. 1 root root   1068 Feb  4 16:17 anaconda-ks.cfg
-rw-------. 1 root root    223 Feb  4 17:35 keystonerc_admin
-rw-------. 1 root root    223 Feb  4 17:35 keystonerc_demo
-rw-r--r--. 1 root root 336100 Feb 11 07:30 nutanix_openstack-2015.1.0-1.noarch.rpm
drwxrwxr-x. 9  500  500   4096 Oct 27 12:31 openstack
-rw-r--r--. 1 root root  43005 Feb  4 17:26 openstack-controller-packstack-install-answer.txt
[root@ovm01 ~]# cat keystonerc_admin
unset OS_SERVICE_TOKEN
export OS_USERNAME=admin
export OS_PASSWORD=admin
export OS_AUTH_URL=http://127.0.0.1:5000/v2.0
export PS1='[\u@\h \W(keystone_admin)]\$ '

export OS_TENANT_NAME=admin
export OS_REGION_NAME=RegionOne
これを source コマンドもしくは .(ドット)で読み込みます。
[root@ovm01 ~]# source keystonerc_admin
[root@ovm01 ~(keystone_admin)]#
nova hypervisor-list を見てみます。クラスタのノード(AHV)ではなく、クラスタ単位で Nova の Compute Host として扱われるようです。VMware Integrated OpenStack(VIO)で vCenter 配下のクラスタが Nova のホストに見えるのと似た感じです。
[root@ovm01 ~(keystone_admin)]# nova hypervisor-list
+----+---------------------+-------+---------+
| ID | Hypervisor hostname | State | Status  |
+----+---------------------+-------+---------+
| 10 | ntnx-ce             | up    | enabled |
+----+---------------------+-------+---------+
hypervisor_type は AHV(Acropolis Hypervisor)になっています。
[root@ovm01 ~(keystone_admin)]# nova hypervisor-show ntnx-ce
+---------------------------+-----------+
| Property                  | Value     |
+---------------------------+-----------+
| cpu_info_arch             | x86_64    |
| cpu_info_model            | x86_64    |
| cpu_info_topology_cores   | 4         |
| cpu_info_topology_sockets | 4         |
| cpu_info_topology_threads | 4         |
| cpu_info_vendor           | Intel     |
| current_workload          | 0         |
| disk_available_least      | 414       |
| free_disk_gb              | 414       |
| free_ram_mb               | 3087      |
| host_ip                   | 10.1.1.15 |
| hypervisor_hostname       | ntnx-ce   |
| hypervisor_type           | AHV       |
| hypervisor_version        | 1         |
| id                        | 10        |
| local_gb                  | 414       |
| local_gb_used             | 0         |
| memory_mb                 | 3599      |
| memory_mb_used            | 512       |
| running_vms               | 0         |
| service_disabled_reason   | -         |
| service_host              | ovm01     |
| service_id                | 14        |
| state                     | up        |
| status                    | enabled   |
| vcpus                     | 14        |
| vcpus_used                | 0         |
+---------------------------+-----------+
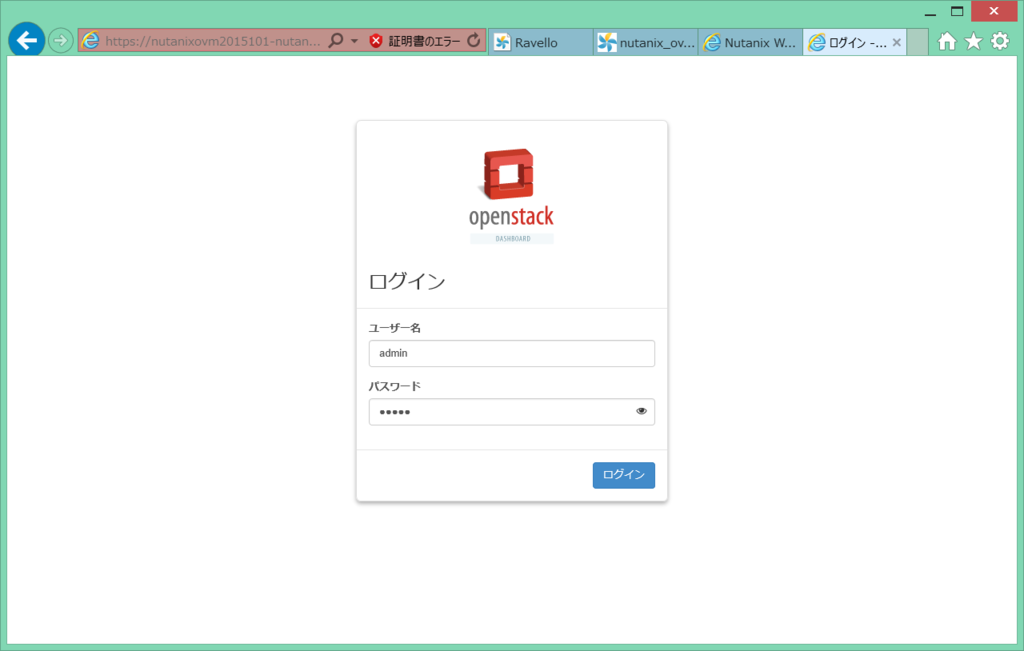
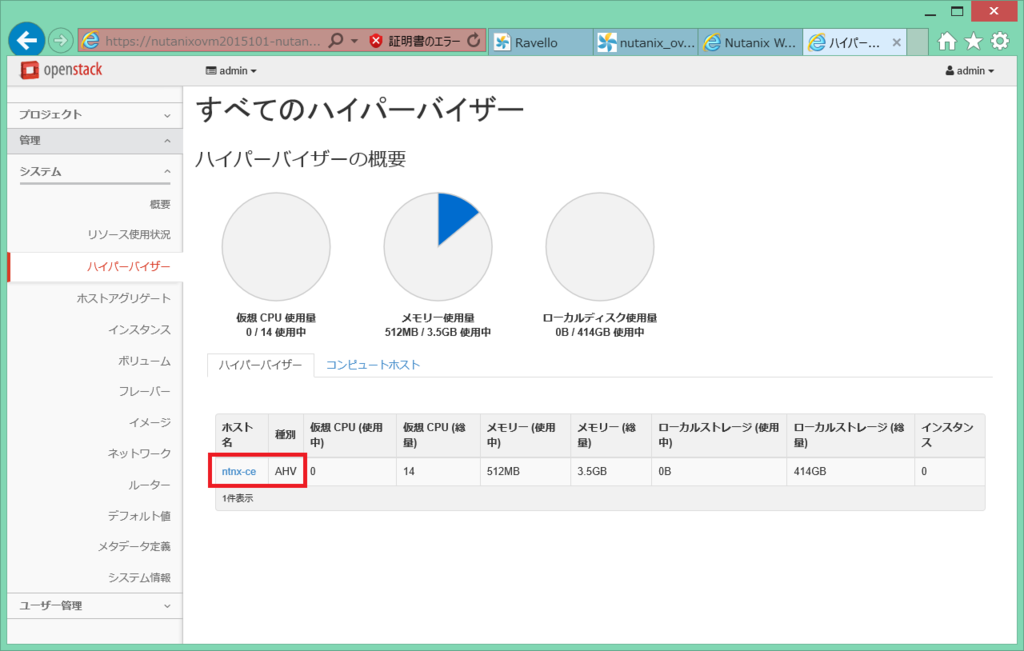
Horizon Dashboard からもアクセス可能です。ハイパーバイザのホスト名は登録した Nutanix クラスタで、種類は AHV と表示されています。

まだつづく。

