Nutanix CE のブート USB メモリを作成してみます。
まず NEXT コミュニティサイトから、img ファイルをダウンロードしておきます。
Download Nutanix CE, Docs, and Guides
https://next.nutanix.com/discussion-forum-14/download-nutanix-ce-docs-and-guides-3188
今回は、ce-2018.01.31-stable.img.gz をダウンロードしてあります。
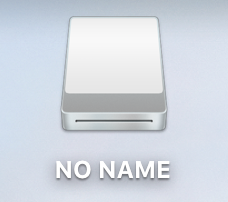
今回は 8GB の USB メモリを用意しています。USB メモリを Mac に接続すると「NO NAME」としてマウントされました。

「/Volumes/NO NAME」のデバイス名は /dev/disk2s1 です。
gomac:~ gowatana$ df -H /Volumes/NO\ NAME/
Filesystem     Size   Used  Avail Capacity iused ifree %iused  Mounted on
/dev/disk2s1    15G   4.2G    11G    28%       0     0  100%   /Volumes/NO NAME
イメージを書き込むため、アンマウントします。
gomac:~ gowatana$ diskutil unmount /dev/disk2s1
Volume NO NAME on disk2s1 unmounted
img ファイルを gunzip で解凍します。
gomac:~ gowatana$ ls -lh ce-2018.01.31-stable.img.gz
-rwxr-xr-x  1 gowatana  staff   3.9G  2 18 18:44 ce-2018.01.31-stable.img.gz
gomac:~ gowatana$ gunzip ce-2018.01.31-stable.img.gz
gomac:~ gowatana$ ls -lh ce-2018.01.31-stable.img
-rwxr-xr-x  1 gowatana  staff   6.9G  2 18 18:44 ce-2018.01.31-stable.img
イメージを書き込みます。書き込み先のデバイス名は、パーティション(s1)なしの /dev/disk2 を指定します。容量が大きいのでそこそこ待ちます。
gomac:~ gowatana$ sudo dd if=ce-2018.01.31-stable.img of=/dev/disk2 bs=10m
Password:
710+0 records in
710+0 records out
7444889600 bytes transferred in 2671.093189 secs (2787207 bytes/sec)
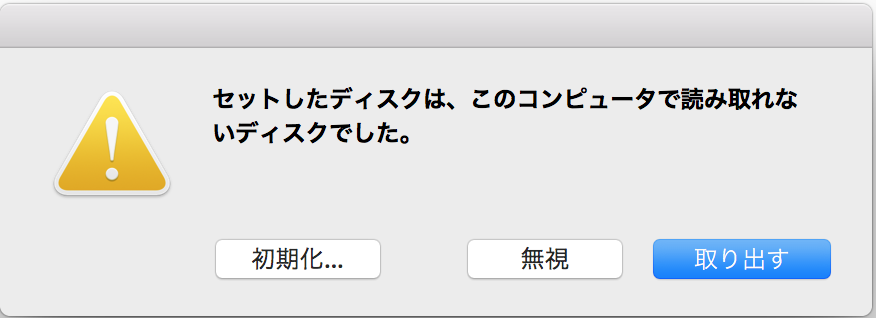
USB メモリが自動的に再認識されるようなので「取り出す」。

以上。
