Nutanix Database Service(NDB)での PostgreSQL DB のプロビジョニングを、Terraform で実行してみます。
今回の内容です。
構成のイメージです。

NDB の Terraform Provider
NDB を操作する Terraform Provider は、Nutanix HCI を操作する Provider(nutanix/nutanix)の Version 1.8.0 以降に含まれています。
Nutanix Provider
- https://registry.terraform.io/providers/nutanix/nutanix/latest/docs
- https://github.com/nutanix/terraform-provider-nutanix
ちなみに、2023年7月時点での Nutanix Provider 最新版は v1.9.2 です。そして現時点の Nutanix Provider でプロビジョニングがサポートされている DB は、PostgreSQL のみです。
今回の実行環境
使用する NDB のバージョンは、2.5.2.1 です。
そして、Terraform v1.5.4 を Linux マシンから実行します。
[gowatana@lab-terraform-02 ~]$ cat /etc/oracle-release
Oracle Linux Server release 8.8
[gowatana@lab-terraform-02 ~]$ terraform version
Terraform v1.5.4
on linux_amd64
tf ファイルの作成
provider.tf
Provider 関連の定義を記載しておきます。
variable.tf
変数定義を記載しておきます。
ssh_public_key には、DB Server VM に設定する SSH 公開鍵を指定するつもりです。
ndb.auto.tfvars
認証情報などの変数値を定義しておきます。
エンドポイントのアドレスやアカウントのユーザ / パスワードは、Prism Element や Prism Central ではなく、NDB Server のものを指定します。
db.tf
NDB を操作する Resource と Data Source は、nutanix_ndb_* といった名前になっています。
DB のプロビジョニングには、ndb_database Resource を使用します。
その際に各種プロファイルの指定が必要になるので、ndb_profile Data Source を利用して ID を取得します。
タイムマシンのスケジュール(schedule)は、ひととおり設定しておきます。これが未設定の場合、NDB Server の UI でタイムマシンが表示できないようです。
Terraform の実行
初回のみ、terraform init を実行します。今回は使用する Provider のバージョンを 1.8.0 以上と指定しているので、最新バージョンである 1.9.2 がインストールされます。
$ terraform init

Initializing the backend...

Initializing provider plugins...
- Finding nutanix/nutanix versions matching ">= 1.8.0"...
- Installing nutanix/nutanix v1.9.2...
- Installed nutanix/nutanix v1.9.2 (signed by a HashiCorp partner, key ID BEA5F795571AD06E)

Partner and community providers are signed by their developers.
If you'd like to know more about provider signing, you can read about it here:
https://www.terraform.io/docs/cli/plugins/signing.html

Terraform has created a lock file .terraform.lock.hcl to record the provider
selections it made above. Include this file in your version control repository
so that Terraform can guarantee to make the same selections by default when
you run "terraform init" in the future.

Terraform has been successfully initialized!

You may now begin working with Terraform. Try running "terraform plan" to see
any changes that are required for your infrastructure. All Terraform commands
should now work.

If you ever set or change modules or backend configuration for Terraform,
rerun this command to reinitialize your working directory. If you forget, other
commands will detect it and remind you to do so if necessary.
terraform plan で事前確認したあとで、terraform apply を実行すると DB Server VM と DB がプロビジョニングされます。
$ terraform apply -auto-approve
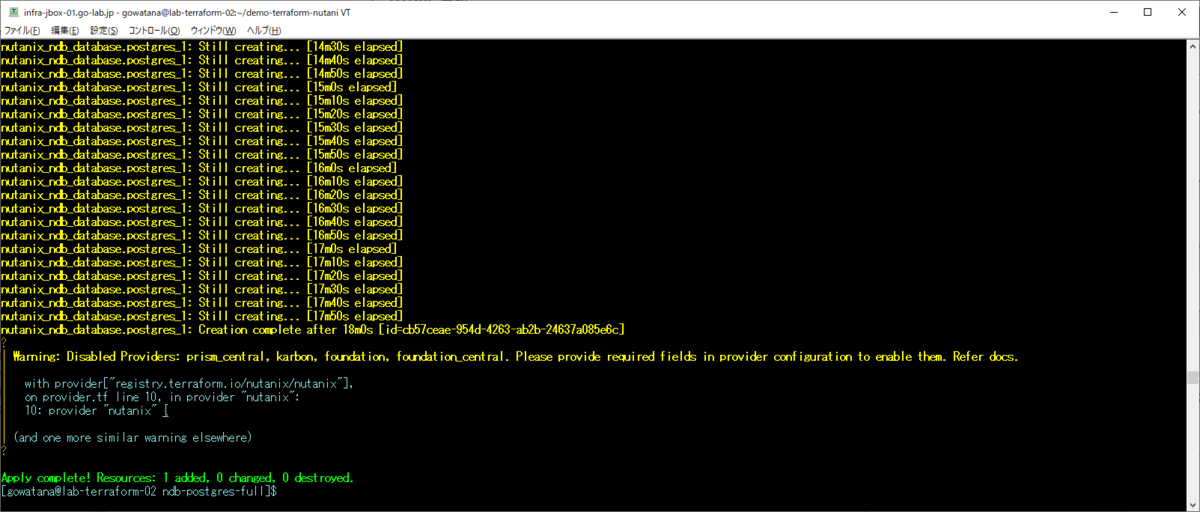
しばらく待つと、プロビジョニングが完了します。

NDB Server の Web UI でも、処理の完了が確認できました。

作成された DB には、tf ファイルで定義しておいた Description が設定されています。

DB に紐づく DB Server VM とタイムマシンも作成されていることがわかります。

ちなみに、今回の tf ファイルでのプロビジョニングだと、terraform destroy を実行すると DB は削除されますが、DB Server VM は残ってしまいます。また、タイムマシンでの初回スナップショットも取得されません。
そのため、今回のような ndb_database Resource のみでのプロビジョニングは、使用後には NDB Server ごと削除するようなデモ環境などで利用することになるかと思います。
つづく。
